
Troubleshooting Common AR-15 Malfunctions
Posted by Mandu Moses on Oct 10th 2025
It's 2025. AI-powered precision is transforming everything from surgical procedures to self-driving vehicles. Yet, when it comes to your AR-15, the fundamentals remain the same. Reliability is paramount.
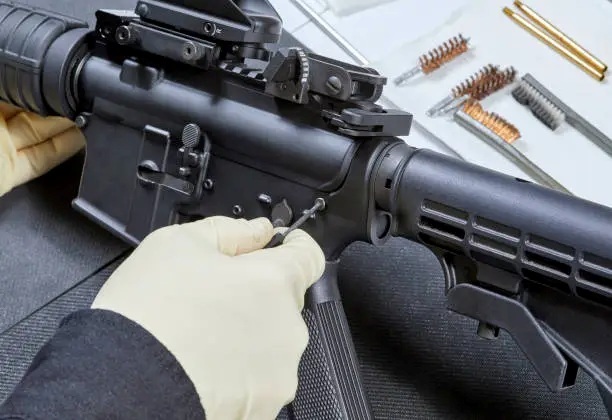
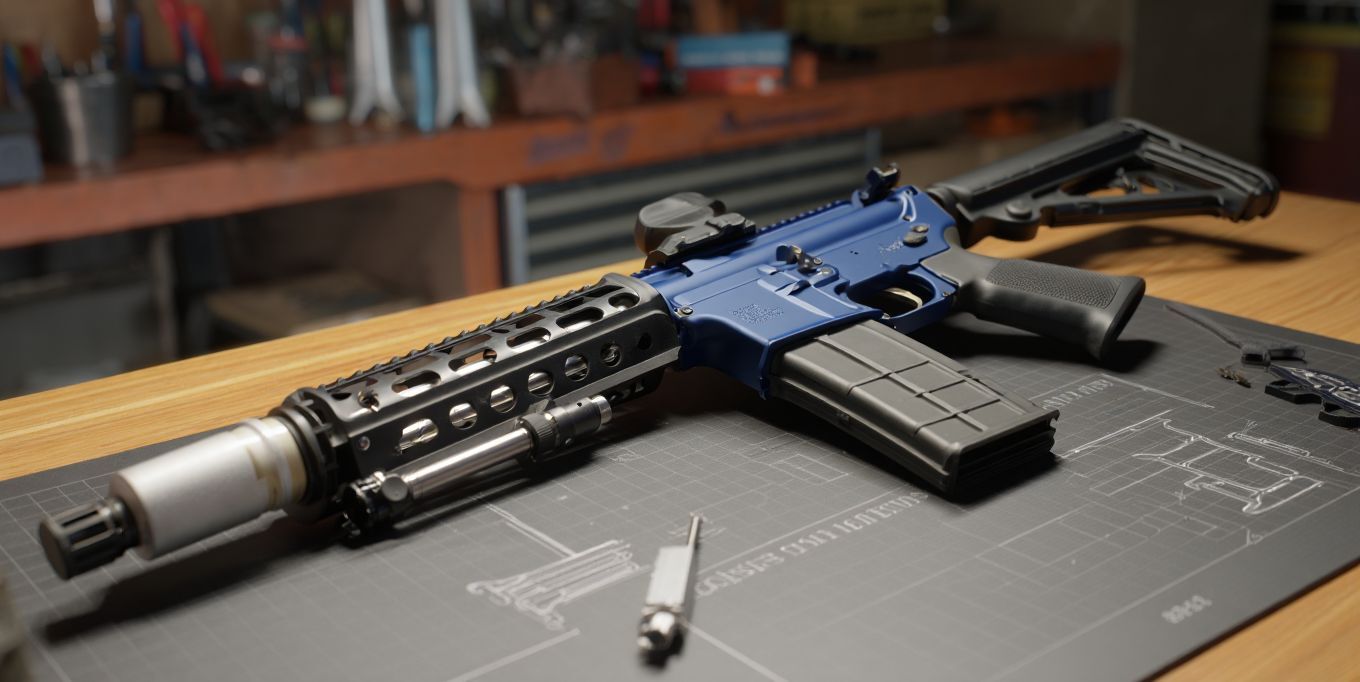
Credit: wingedwolf
Whether you're a seasoned competitive shooter, a dedicated recreational enthusiast, or rely on your AR-15 for home defense, a malfunctioning rifle is more than just an inconvenience – it can be a critical failure.
Let's face it: even the most meticulously maintained AR-15 can experience malfunctions. It's the nature of semi-automatic firearms.
The intricate dance of gas, springs, and precisely machined parts, while incredibly robust, isn't immune to hiccups.
Why Malfunctions Happen
Generally, malfunctions stem from a breakdown in the AR-15's cycling process. This cycle, in its simplest form, is: fire, extract, eject, load, and repeat. Anything that disrupts this sequence can lead to a malfunction.
Common culprits include:
- Ammunition Issues: Faulty rounds, incorrect ammunition types, or dirty ammo are frequent offenders.
- Magazine Problems: Magazines are the lifelines of your AR-15. Damaged, dirty, or low-quality magazines are a major source of feeding issues.
- Carbon Buildup and Fouling: The AR-15's direct impingement gas system, while efficient, introduces combustion byproducts directly into the action. Accumulated carbon can hinder smooth operation.
- Lubrication Issues: Insufficient or improper lubrication creates friction, slowing down or halting the cycling process.
- Component Wear and Tear: Parts wear out over time. Springs lose tension, extractors chip, and gas rings weaken, all contributing to potential malfunctions.
- User Error: Believe it or not, sometimes the problem is the shooter. Improper grip, "limp-wristing," or incorrect charging techniques can induce malfunctions.
The "Big Four" Malfunctions
These are the most common AR-15 malfunctions you'll encounter.
1. Failure to Feed (FTF):
The rifle fires, the spent casing ejects (or attempts to), but a new round fails to strip from the magazine and chamber. You pull the trigger and click – nothing happens. The chamber is empty.
Symptoms:
- Empty chamber after firing (or attempted firing).
- The bolt may be forward or slightly rearward.
- No round is visible in the chamber.
Immediate Action (The "Tap, Rack, Bang" Drill - Modified for FTF):
- TAP: Firmly tap the bottom of the magazine to ensure it's fully seated. Magazines can sometimes become slightly dislodged.
- RACK: Aggressively rack the charging handle fully to the rear and release it. This attempts to strip a new round from the magazine and chamber it.
- BANG: Re-establish your sight picture and attempt to fire again.
Why this works: Tapping ensures the magazine is properly seated. Racking manually cycles the action, attempting to chamber a fresh round.
If it still fails:
- Lock the bolt to the rear.
- Remove the magazine.
- Inspect the magazine: Look for damage, debris, or if it's improperly loaded. Replace with a known good magazine if possible.
- Inspect the chamber: Visually check for obstructions in the chamber.
- Reload and Rack: Insert the good magazine, rack the charging handle again, and attempt to fire.
Potential Causes:
- Magazine Issues: Weak magazine spring, damaged feed lips, and dirty magazine.
- Ammunition Issues: Underpowered ammunition, out-of-spec rounds.
- Rifle Issues: Dirty chamber, weak recoil spring, gas system issues (under-gassed).
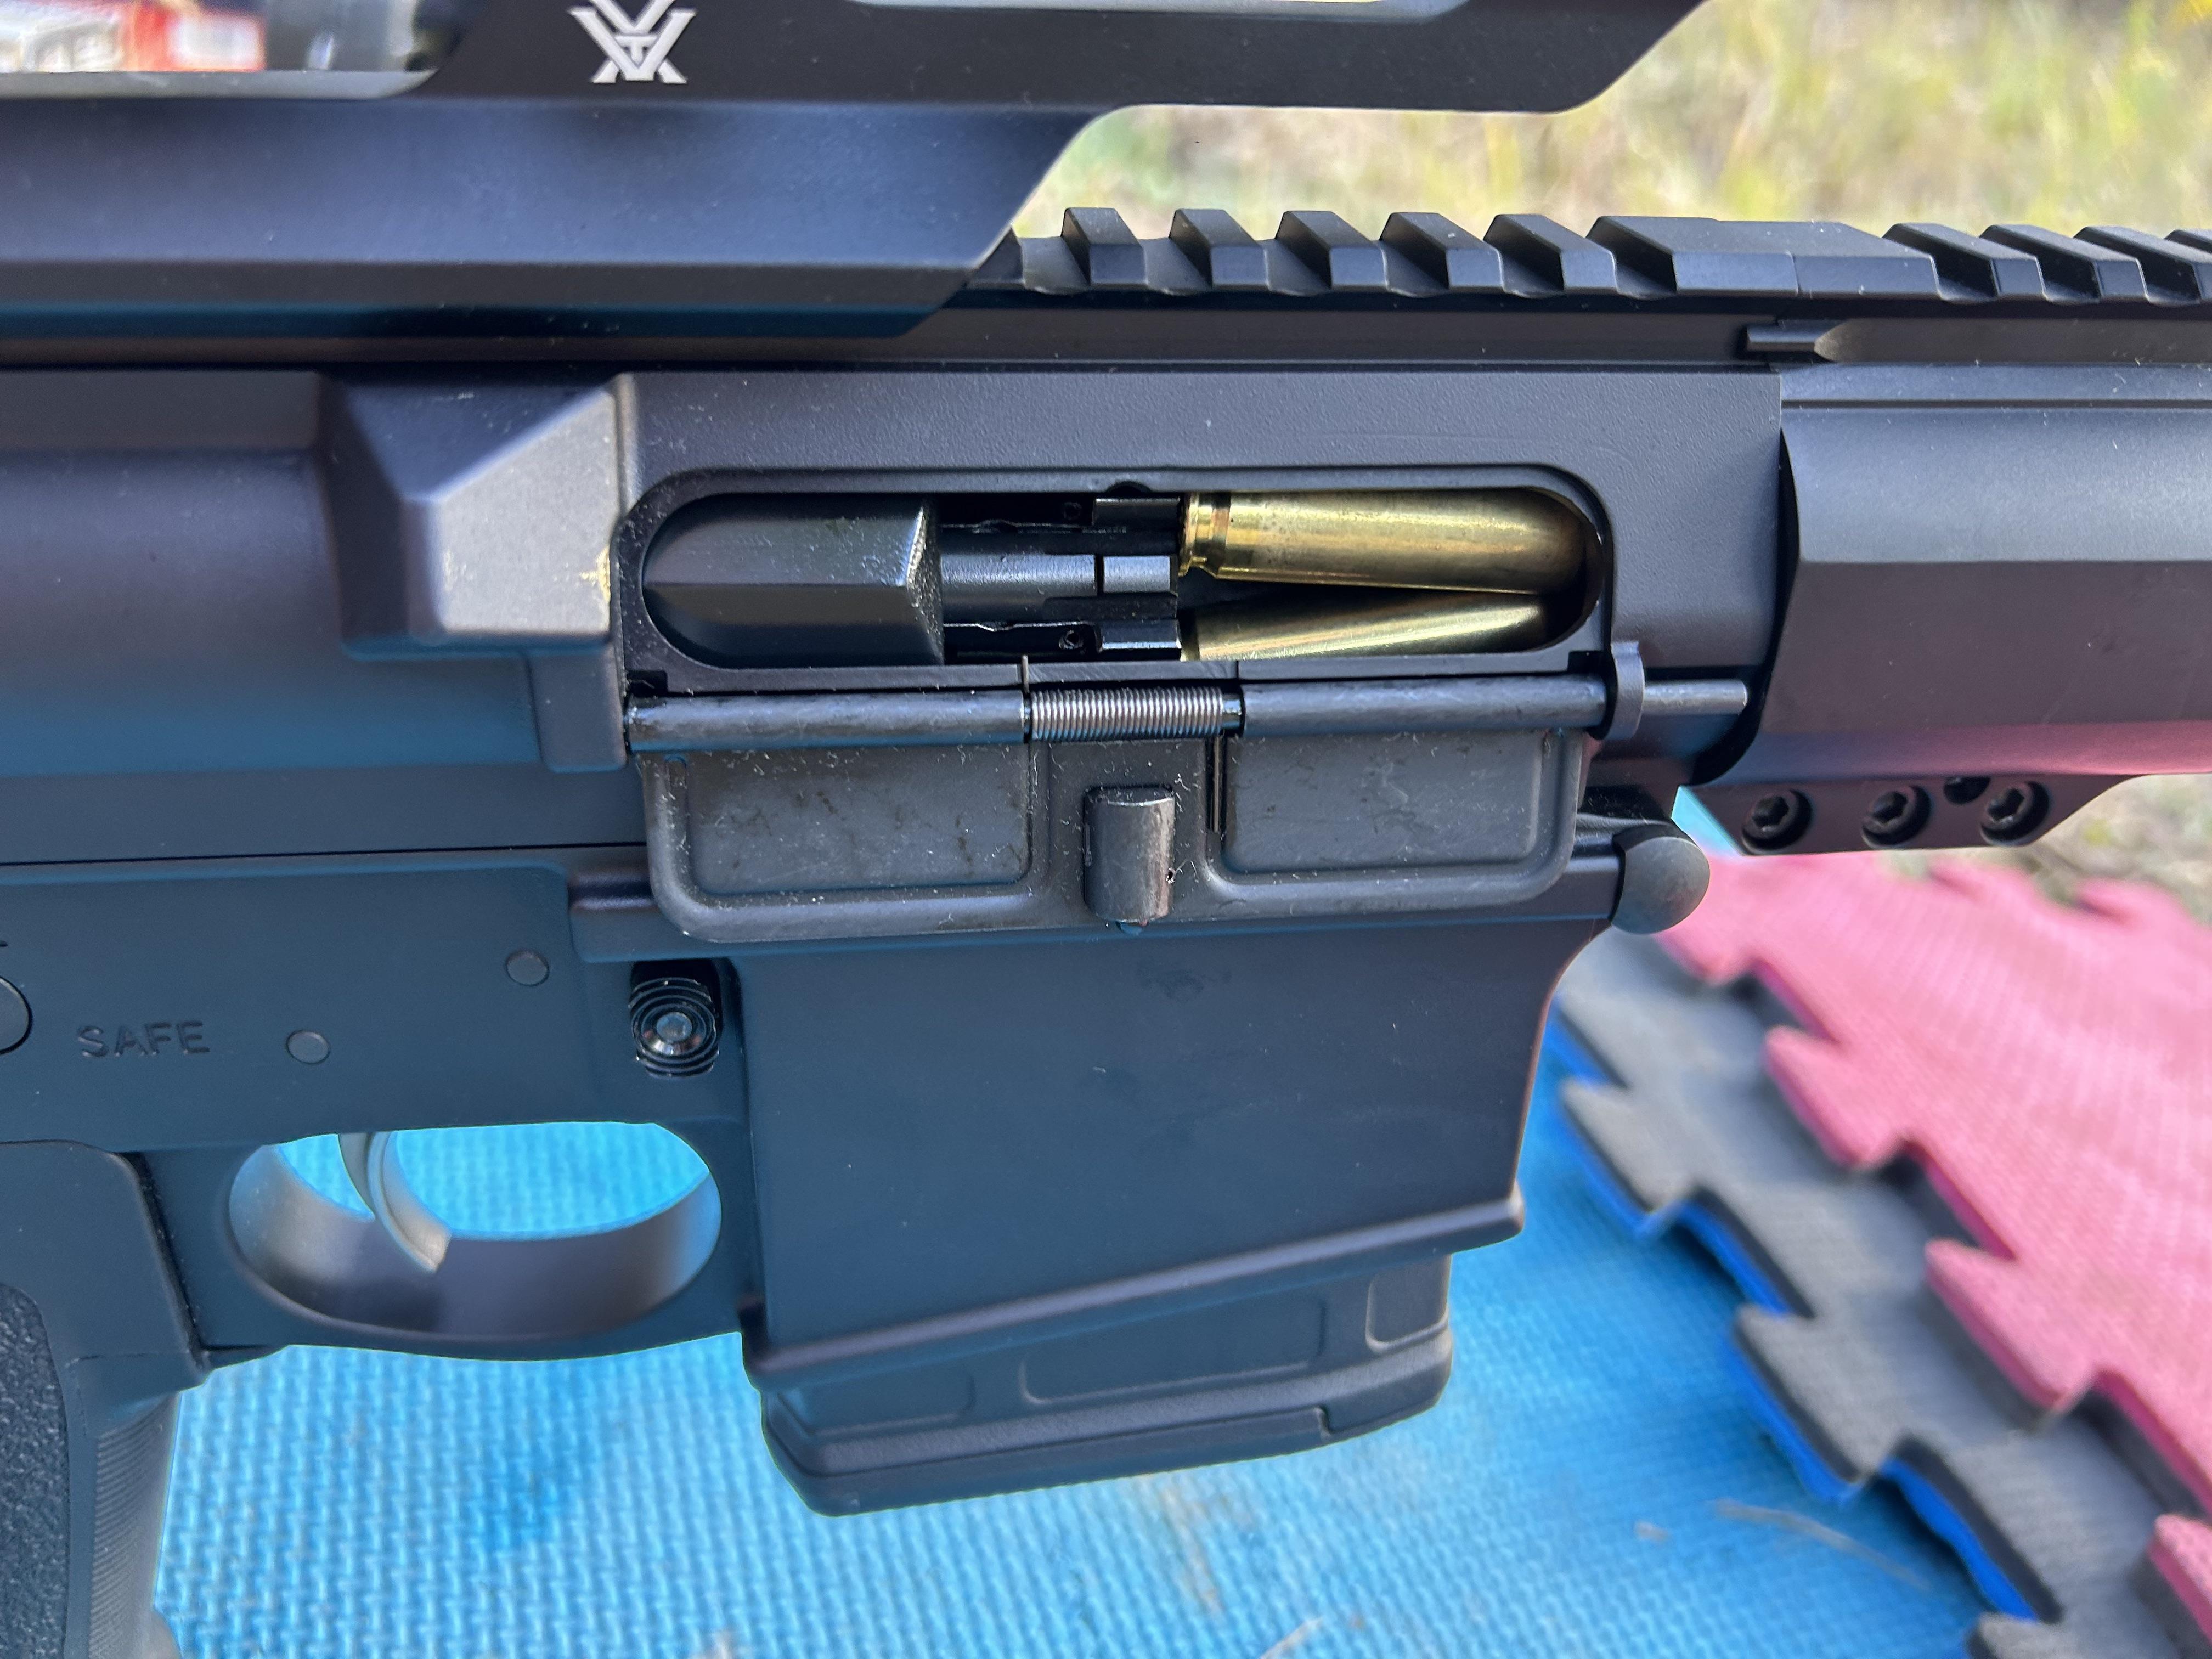
2. Failure to Eject (FTE):
The rifle fires, but the spent casing fails to eject from the chamber fully. The bolt attempts to return forward, often colliding with the spent casing and jamming the action.
Symptoms:
- Spent casing stuck in the chamber or partially ejected.
- The bolt carrier group (BCG) may be partially forward or jammed rearward.
- Often accompanied by a "stovepipe".
Immediate Action
- RIP: Aggressively rip the magazine out of the magazine well. This removes a potential obstruction and clears space for the casing to eject.
- RACK: Forcefully rack the charging handle fully to the rear and release it. This should extract the stuck casing.
- BANG: Re-insert a magazine (if removed entirely), re-establish your sight picture, and attempt to fire.
Why this works: Ripping the magazine clears space. Aggressive racking provides force to overcome a stuck casing.
If it still fails:
Lock the bolt to the rear.
- Visually inspect the chamber: Is the casing still stuck? Is there any other obstruction?
- Manually extract the casing: If the casing is still stuck, use a cleaning rod or multi-tool to carefully push it out from the muzzle end. Always ensure the muzzle is pointed in a safe direction.
- Inspect the extractor and ejector: Visually check these components for damage.
- Reload and Rack: Insert a good magazine, rack the charging handle, and attempt to fire.
Potential Causes
- Extractor Issues: Broken or chipped extractor, weak extractor spring, dirty extractor
- Ejector Issues: Broken or damaged ejector, weak ejector spring.
- Ammunition Issues: Overpowered ammunition (leading to case expansion), out-of-spec brass.
- Rifle Issues: Dirty chamber, tight chamber, over-gassed system (rare, but possible).
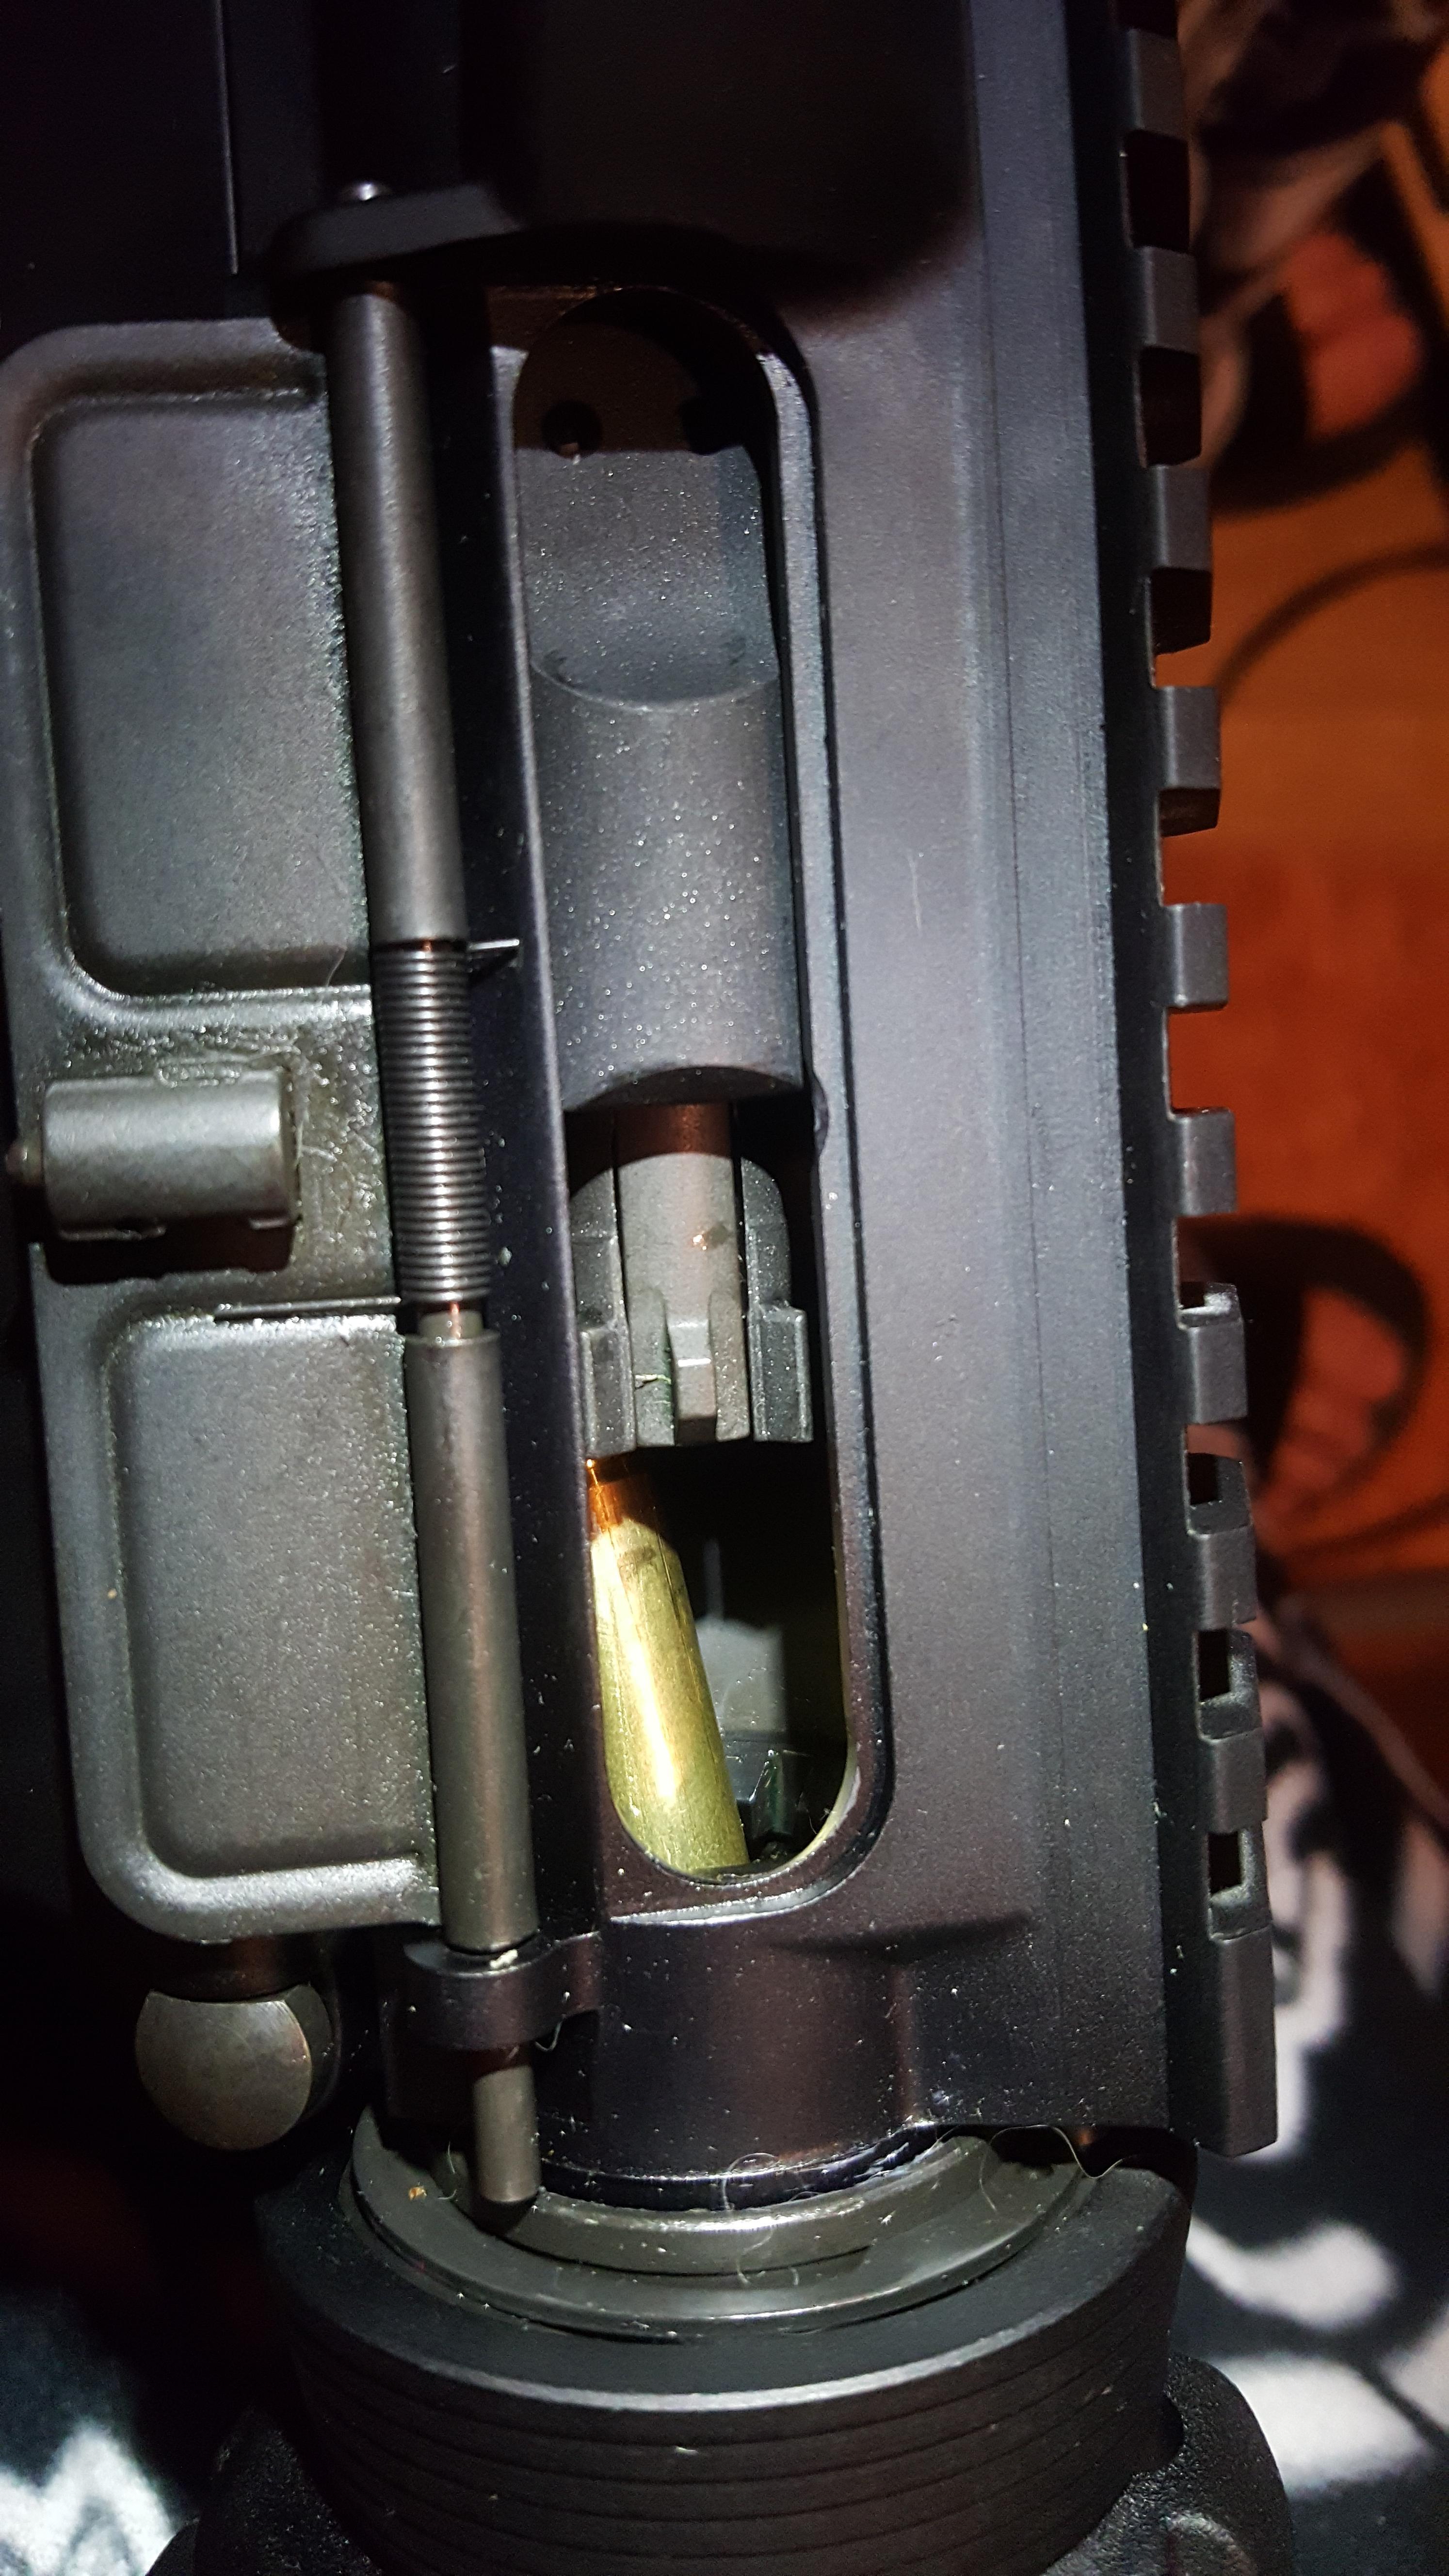
3. Double Feed
Two rounds are stripped from the magazine simultaneously and attempt to feed into the chamber at the same time. This creates a significant jam, usually locking up the action completely.
Symptoms:
- The Bolt carrier group is jammed, usually forward or partially forward.
- Visible rounds jammed at the chamber mouth.
- Action is often very difficult to manipulate.
Immediate Action:
Point the muzzle in a safe direction.
Attempt to lock the bolt to the rear. This may be difficult, but try.
- Forcefully remove the magazine. It might be jammed in place.
- With the magazine removed and the bolt locked (if possible), attempt to clear the jammed rounds. You might need to use your fingers or a tool to dislodge them. Be careful not to damage the rounds or the rifle.
- Visually inspect the chamber and magazine well for any remaining obstructions.
- Insert a fresh, known-good magazine, rack the charging handle, and attempt to fire.
Why this works: Removing the magazine and clearing the chamber allows you to reset the feeding system.
If it still fails:
- Detailed Inspection: Thoroughly inspect the magazine for damage, bent feed lips, or debris. Disassemble and clean the magazine if necessary.
- Check for Obstructions: Ensure there are no other obstructions in the chamber or around the bolt face.
- Consider Magazine Quality: Double feeds are often linked to low-quality or damaged magazines.
Potential Causes:
- Magazine Issues: Weak magazine spring, damaged feed lips, dirty magazine, low-quality magazine.
- Ammunition Issues: Inconsistent round dimensions (rare).
- Rifle Issues: Less common, but could be related to bolt carrier group issues or receiver damage.
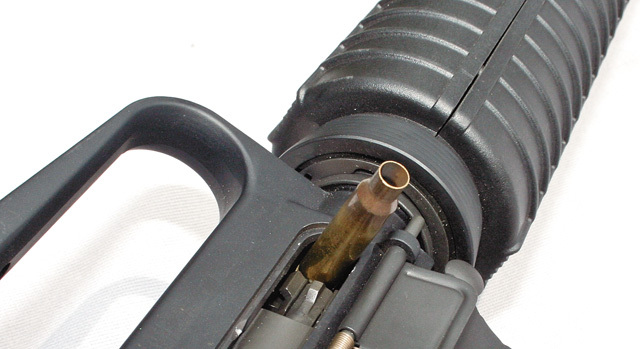
4. Stovepipe: The Chimney Effect
A spent casing is ejected, but it gets caught between the bolt face and the receiver, standing upright like a "stovepipe" – resembling a stovepipe chimney.

Symptoms:
- The spent casing visibly sticks out of the ejection port, held in place by the bolt.
- The Bolt carrier group is usually partially forward.
Immediate Action:
- SWEEP/TAP: Aggressively sweep your hand across the ejection port, knocking the stovepiped casing clear.
- RACK: If sweeping/tapping doesn't work, rack the charging handle fully to the rear and release it.
- BANG: Re-establish your sight picture and attempt to fire.
Why this works: Sweeping/tapping physically dislodges the casing. Racking manually cycles the action if the initial sweep fails.
If it still fails:
- Rip Magazine (Optional): In some cases, briefly ripping the magazine can help clear the obstruction, similar to an FTE.
- Inspect Ejection Port: Visually check for any obstructions or debris in the ejection port area.
- Potential Causes (Beyond Immediate Action):
- Ejection Issues: Weak ejection, often related to an under-gassed system, weak ejector spring, or dirty ejector.
- Ammunition Issues: Underpowered ammunition.
- User Error: "Limp-wristing" can contribute to stovepipes, especially in lighter rifles or with weak ammunition.
Preventative Maintenance and Deeper Diagnostics
Clearing malfunctions in the moment is crucial, but preventing them is even better.
Here's how:
- Regular Cleaning and Lubrication: Clean and lubricate your AR-15 after every range session and even during extended shooting days. Pay special attention to the bolt carrier group, chamber, and magazine well. Use quality gun cleaning solvents and lubricants.
- Magazine Maintenance: Magazines are often overlooked. Disassemble and clean your magazines regularly. Inspect for damage to feed lips, followers, and springs. Replace worn-out springs. Invest in quality magazines from reputable manufacturers.
- Ammunition Selection: Use quality, reputable ammunition. Avoid questionable surplus or reloads unless you are absolutely certain of their quality. Match your ammunition to your rifle's gas system and intended use.
- Gas System Inspection: Periodically inspect your gas block, gas tube, and gas rings on the bolt carrier group. Ensure they are clean and in good working order. For adjustable gas blocks, understand how to tune them properly.
- Component Inspection and Replacement: Be aware of wear and tear on critical components like extractors, ejectors, springs, and firing pins. Replace these parts proactively before they fail. Keep spare parts on hand, especially for high-volume shooters.
- Training and Practice: Practice malfunction drills regularly. Muscle memory is crucial when dealing with malfunctions under stress. Familiarize yourself with your rifle's manual of arms and develop consistent shooting techniques to minimize user-induced malfunctions.
When to Seek Professional Help:
While many AR-15 malfunctions can be resolved with basic troubleshooting, some issues require professional attention. Seek a qualified gunsmith if you encounter:
- Persistent Malfunctions: If malfunctions continue even after thorough cleaning, lubrication, and basic troubleshooting.
- Suspected Component Damage: If you suspect a major component is damaged or broken (e.g., cracked receiver, broken bolt).
- Gas System Issues You Can't Diagnose: If you suspect gas system problems beyond basic cleaning and inspection.
- Any Uncertainty: If you are uncomfortable diagnosing or resolving a malfunction, it's always best to err on the side of caution and seek professional help.
Conclusion
At its core, your AR-15 is a tool—a powerful and effective one, but a tool nonetheless. Mastering its operation, understanding its potential weaknesses, and knowing how to address malfunctions isn't just about being a proficient shooter; it's about being a responsible and prepared owner.
By understanding the common malfunctions, practicing immediate action drills, and committing to preventative maintenance, you'll significantly reduce the chances of your AR-15 failing you when it matters most.